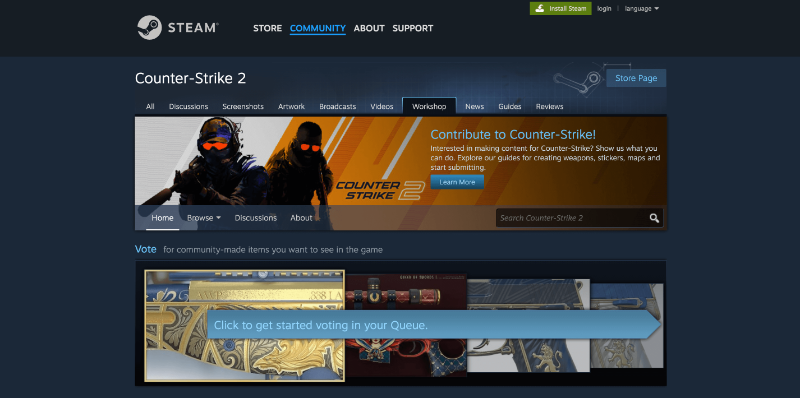
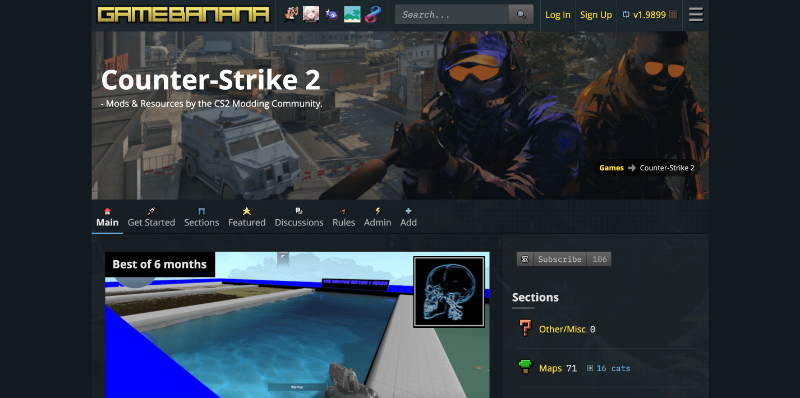
With the evolution of Counter-Strike into CS2, many players are excited to dive into new custom maps and experiences. While the process might seem a bit technical, importing and playing these new terrains is straightforward with the right steps. This guide will walk you through the process of downloading, importing, and enjoying your chosen CS2 map. Download the map of your choiceMake sure the map of your choice supports CS2.Here are some examples of places where you can download maps:
Import your download to CS2
Open Steam Go to "Counter-Strike 2" in your Steam library Right click "Counter-Strike 2" in your Steam library and go to Manage > Browse Local Files Open the `game` folder > CS:GO > maps Drag in your file inside the maps folder Your map is now ready to play!
How to start playing your new mapIn your Steam application, go back to CS2 Click on Properties from the menu Go to General > Launch Options Add an option When Starting A Game and type Start your game Once your game has started, go to Settings > Game > Enable Developer Console > Yes Go to your UI Keys to see the key that you need to Toggle your Developer Console Once you close Settings, open your console and type in:
> sv_cheats 1 After that, type in
> map [enter the name of your map that you imported here] CS will now load your map
Expect that there would be some glitches on new maps, since this is a new interface. Nevertheless, as CS2 continues to update and get better, custom maps would be much easier to play. Importing and Playing Custom Maps in CS2: A Comprehensive GuideWith the evolution of Counter-Strike into CS2, many players are excited to dive into new custom maps and experiences. While the process might seem a bit technical, importing and playing these new terrains is straightforward with the right steps. This guide will walk you through the process of downloading, importing, and enjoying your chosen CS2 map. Choosing and Downloading the Right MapDownload the map of your choice. Make sure the map of your choice supports CS2. Note that many maps are not yet updated for CS2.
Importing Your Map to CS2Open Steam. Navigate to your Counter Strike game. Opt for 'Manage' then click on 'Browse Local Files'. Proceed to the game folder > CS:GO > maps. You should see other map files with a .vpk extension. Simply drag your downloaded map file inside this maps folder. Voila! Your map is now ready for action.
Getting Started with Your New MapWithin your Steam application, revisit CS2. Select 'Properties' from the drop-down menu. Navigate to 'General' and then to 'Launch Options'. Here, you'll add an option 'When Starting A Game'. Input the following command: -insecure. Launch your CS2 game. After the game loads, navigate to 'Settings' > 'Game' > 'Enable Developer Console' and choose 'Yes'. Check out your UI Keys; this shows you the keybind to toggle your Developer Console. With the Developer Console open, type the command: sv_cheats 1. Next, input: map [NameOfYourMap] (Replace 'NameOfYourMap' with the actual name of your imported map). CS2 will initiate the loading of your map. Get ready to play!
Enjoying Your GameplayIt's worth mentioning that new maps might have some glitches, given the fresh interface of CS2. However, rest assured, as CS2 receives more updates and refinements, playing on custom maps will become a smoother experience. Dive in, explore, and let the games begin! |


