How to Set Up Your Rust Server with Hostari
Are you ready to jump into the world of Rust with your own server? Setting up a Rust server can seem daunting, but with Hostari, it's a breeze. Follow our step-by-step guide to get your server up and running in no time.
Step 1: Visit Hostari's Website
Start by navigating to app.hostari.com. Here, you'll find all the resources you need to get started.
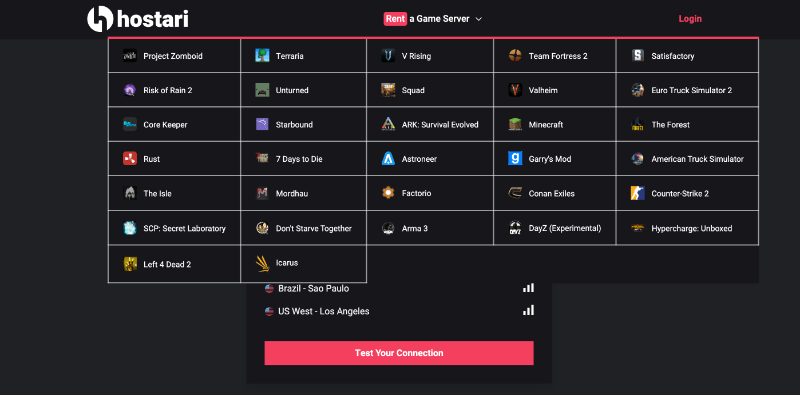
Step 2: Selecting Your Game Server
Once on the Hostari website, locate the "Rent A Game Server" section at the top middle of the page. Hover your mouse over this area and click on "Rust" to choose it as your game server.

Step 3: Creating an Account
To proceed, you'll need to input your email address, choose a password, and select your desired region. This ensures that your server is set up in a location that offers optimal performance.
Step 4: Signing Up
After entering your details, click on the "Sign up" button to create your Hostari account.
Step 5: Naming Your Server
Next, input your server's name and your display name. This is how players will identify your server in the game.
Step 6: Finalising Setup
Click on "I'm All Set" to confirm your server details.
Step 7: Choosing a Subscription Plan
Select a subscription plan that suits your needs. Hostari offers various options to cater to different server sizes and requirements.
Step 8: Payment Process
Enter your Stripe details to handle the payment for your server. Hostari ensures a secure transaction process.
Step 9: Accessing Your Server Panel
Finally, click on "Access Server Panel." This is where you can manage your server console, view logs, and access FTP for further customizations and management.
Conclusion
Setting up a Rust server with Hostari is straightforward and user-friendly. With these simple steps, you're now ready to host your own Rust game server and embark on exciting adventures. Enjoy the thrill of the game on your own terms!