Contents
Valheim brings together vikings, survival, and building in the exciting sandbox video game that has quickly gained popularity over the last few years. Throughout the game, it’s the player's job to be both strategic and tough, while slaying enemies, building houses, crafting tools, and exploring an exciting world.
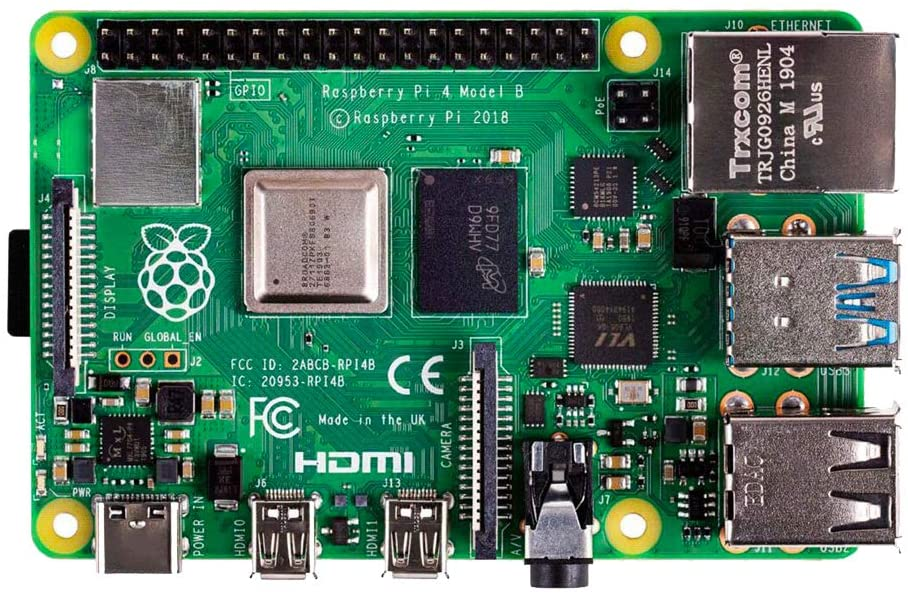
While the game can be played solo, it’s most popularly played as a multiplayer adventure with up to 9 players. In order to get the most out of the game and its multiplayer experience, many choose to use a Valheim dedicated server. However, another alternative is using a Raspberry Pi, a very small computer with a fast processing speed.
Let’s take a closer look at setting up a Raspberry Pi so you can start playing with your friends in no time!
What You Will Need
Some may hesitate to run the Valheim server software on a computer like Raspberry Pi, however, it’s more than capable of doing so. Raspberry Pi are known to be very efficient, especially when linked with external devices. In order to install the server software and run it as a Valheim dedicated server, we will be using an SD card or a USB 3.0 external hard drive (SSDs perform best).
What’s important is to use the right kind of Raspberry Pi model, because not all will be capable of becoming a Valheim dedicated server or meet the Valheim server requirements. To read more on Valheim server requirements, read this article here. However, the Raspberry Pi 4 model or newer will be able to run the software and meet the requirements in combination with the external devices.

In order to run the software to become a Valheim dedicated server, you will need at a bare minimum the Raspberry Pi 4 or newer model, a micro SD card, WiFi, and a power supply.
The entire process of setting up a Valheim dedicated server host can be broken down into three steps:
- Setting up your Raspberry Pi
- Setting up SteamCMD
- Setting up and running Valheim dedicated server
We’ll be going through each of these steps below.
Step 1: Setting Up Your Raspberry Pi

Your Raspberry Pi doesn’t automatically come set up to be able to run the software, so we’ll have to go through a few steps in order to get it ready for that. You’ll want to make sure that it is operating on a 64-bit Raspberry Pi OS and setting it up in a way that it is headless. Now we’re ready to go on to the first step.
The Raspberry Pi doesn’t have a system that automatically can run the software, so there’s one additional step we must take in order to use it. You’ll have to install the x86 and x64 emulators in order to run it. You’ll see when we go through each step of the instructions, that the Valheim dedicated server will ask us to have x64 installed, and the software will require us to have x86 installed, which is why we need both.
The best order to do this is to install x86 first, and then x64. Here’s the step-by-step process on how to install these:
- Install Box86. This will allow you to run SteamCMD, which will allow us to install the Valheim dedicated server.
- Install Box64. As mentioned, this will set your system up to run as the Valheim dedicated server. Without this, that’s impossible.
Step 2: Setting up SteamCMD
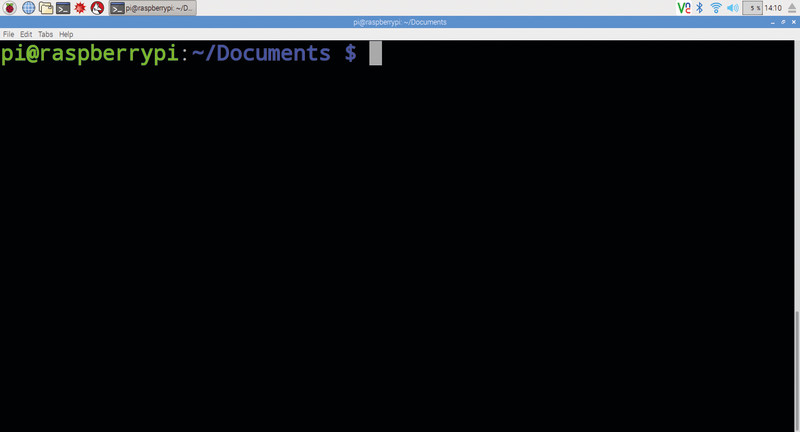
To set up your SteamCMD, we’re going to have to get a bit technical. First, it’s important to create a directory where you can find the software easily. For the intents and purposes, we’ll keep it simple and call the directory “steamcmd”. You’ll want to store this in your “pi” users directory. If you were to write it all out in code, it would look like this:
Commands to run
pi@raspberrypi:~ $ mkdir /home/pi/steamcmd
cd /home/pi/steamcmd
After you’ve done that, it’s time to actually download SteamCMD. In order to do this, you’ll want to input the following:
curl -sqL "https://steamcdn-a.akamaihd.net/client/installer/steamcmd_linux.tar.gz" | tar zxvf -
For more information on how to use Valheim on a Linux server, check out this post here.
Now, before we move on to the third and final step of this process, it’s important to make sure that SteamCMD is functioning properly. To do this, you can just use this command:
./steamcmd.sh
Expect to spend a bit of extra time initially, as when you run SteamCMD for the first time, it will check for updates and self-update. Once that’s finished running, input “quit” in order to exit the program and move on to the next step.
Step 3: Setting up and running Valheim dedicated server
We’re finally at the last step! In order to run the Valheim dedicated server software, we first have to open up SteamCMD again. To do this, put in the same command we did earlier:
Commands to run
cd /home/pi/steamcmd
Next, it’s time to download the dedicated server software by using the command
./steamcmd.sh +@sSteamCmdForcePlatformType linux +login anonymous +force_install_dir /home/pi/valheim_server +app_update 896660 validate +quit
That looks like an extensive line of code, right? We can break it down for you so you know why we’re using these various lines of command.
“+@sSteamCmdForcePlatformType linux” - chooses Linux over the wrong platform
“+login anonymous” - pretty self-explanatory, but allows you to log in as “anonymous”. Why do we want this? Because it allows you to log in without the password.
“+force_install_dir /home/pi/valheim_server” - chooses the location for your server
“+app_update 896660” - this is a reference to the exact software we’re downloading
After you’ve completed this, we’ll want to change the code, so we can adapt things to your needs and preferences. We’ll specifically want to change the start server script. In order to edit anything, we first have to put in this command:
nano /home/pi/valheim_server/start_server.sh
The line we will want to change in code is: ./valheim_server.x86_64 -name "My server" -port 2456 -world "Dedicated" -password "secret"
And we’ll want to change it to:
./valheim_server.x86_64 -nographics -batchmode -port 2456 -public 0 -name "My Server Name" -world "MyWorldName" -password "MySecretPassword" -savedir "/home/pi/valheim_data".
Now, you may decide to change certain parts of that code depending on your preference. Let’s look at this command by breaking it down as we did with others.
“-port 2456” - do you have a firewall? Depending on your answer, you may need to change this. If you do, it must be changed. If you don’t, then it can stay as is.
“-public 0” - Do you want others to be able to find you using the in-game server browser? If no, keep it as is. If yes, you’ll want to change the 0 to a 1. So “-public 1”.
“-name "My Server Name"’ - here is where you can customize your server name to whatever you want instead of “My Server Name”
-word "MyWorldName" - this is where you get to change the name of your Valheim world, if you’d like
-savedir "/home/pi/valheim_data" - this will specify where you have saved the Valheim data
Before we move on to the next step, make sure you save everything! There’s nothing more frustrating than making these changes and losing everything due to forgetting to save it! All you have to do is press “CTRL+X”, then "Y”, and “Enter”. You’re good to go!
Now that we’ve done that, we can start running the Valheim dedicated server. To start it up, use the command: ./start_server.sh. You will have to be patient while it starts up, since it does take a considerable amount of time to do. The very last step is to connect your server with the game, and that is pretty simple to do. Click “Join by IP” on Valheim, and input your IP address. In order to figure out what the IP address is of your Raspberry Pi, simply put in “hostname -I”.
That’s all you need to know!
Valheim Dedicated Servers
Now that you know what to do for your Valheim dedicated server on Raspberry Pi, you’re ready to enjoy the multiplayer mode, for which you can also find additional information here. But if that all sounded too complicated to you and you’d prefer something simple and straightforward, consider signing up for our Valheim dedicated server hosting here.
We understand that writing commands or code can seem intimidating and we want to help wherever we can and make your life easier. At Hostari, we take our responsibilities seriously and take care of everything, from making sure we meet Valheim dedicated server requirements, to ensuring that it’s saved in the right place. All you have to do is sign up, and get started right away! And if you haven’t figured out yet which you’d prefer, we do offer a 24-hour free trial.

